The Student News Site of Buena Vista University

The Tack Online

The Student News Site of Buena Vista University

The Tack Online

The Student News Site of Buena Vista University

The Tack Online

Search The Tack
Stunts first home competition
Stunt's first home competition
March 22, 2024
When I arrived, to my surprise, a Piper Archer II had just landed and way taxiing back to the hangers.
Sunday's pit stop: A gallery by Joshua Tigges
March 2, 2024
A shot at partnership: BVU and Mercy College launch 3 + 1 nursing program
March 1, 2024
Hot Dish literary magazine submissions open
February 23, 2024

Deering’s Dorm Decor: DIY Snowglobes

Deerings+Dorm+Decor%3A+DIY+Snowglobes

Kylee Deering | Blogger

Hey Beavers!

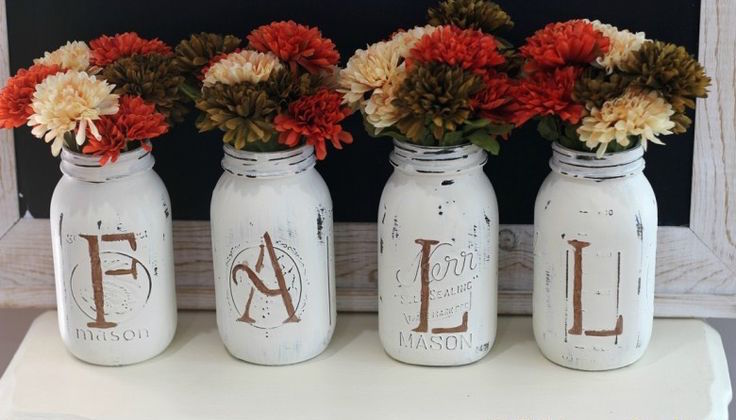
If you’re looking for some holiday inspiration for your dorm room, look no further. These cute little snowglobes are DIY, super easy, and really great winter decorations. You can personalize them exactly how you’d like them and you have snow without actually going out in the cold! What’s better than that?

You’ll need:

– A jar
– Superglue
– Glitter
– Plastic figurines of your choice
– A glue gun

When buying a jar, make sure to get one with a seal inside to keep the contents from leaking.

1. Place your figurines inside the lid and put the jar over it to make sure everything will fit height wise.
2. Then glue the figurines in place with the superglue.
3. While the glue is drying, fill the jar almost to the top with cool tap water.
4. Test the figurines again with the added water. Put the lid on tightly and turn over. The water level should be over the top of the figurines with a little room at the top to spare.
5. Remove the lid and add glitter to the jar and stir.
6. Take the glue gun and run a ring of glue around the inside of the lid and then close the lid on the jar and tighten. Make sure to do this before the glue dries.
7. Shake and enjoy!

For pictures of how this DIY project is done, refer back to MollyMoo Crafts.

Happy snowglobing!

Kylee

Leave a Comment
More to Discover

Comments (0)

All The Tack Online Picks Reader Picks Sort: Newest

Your email address will not be published. Required fields are marked *